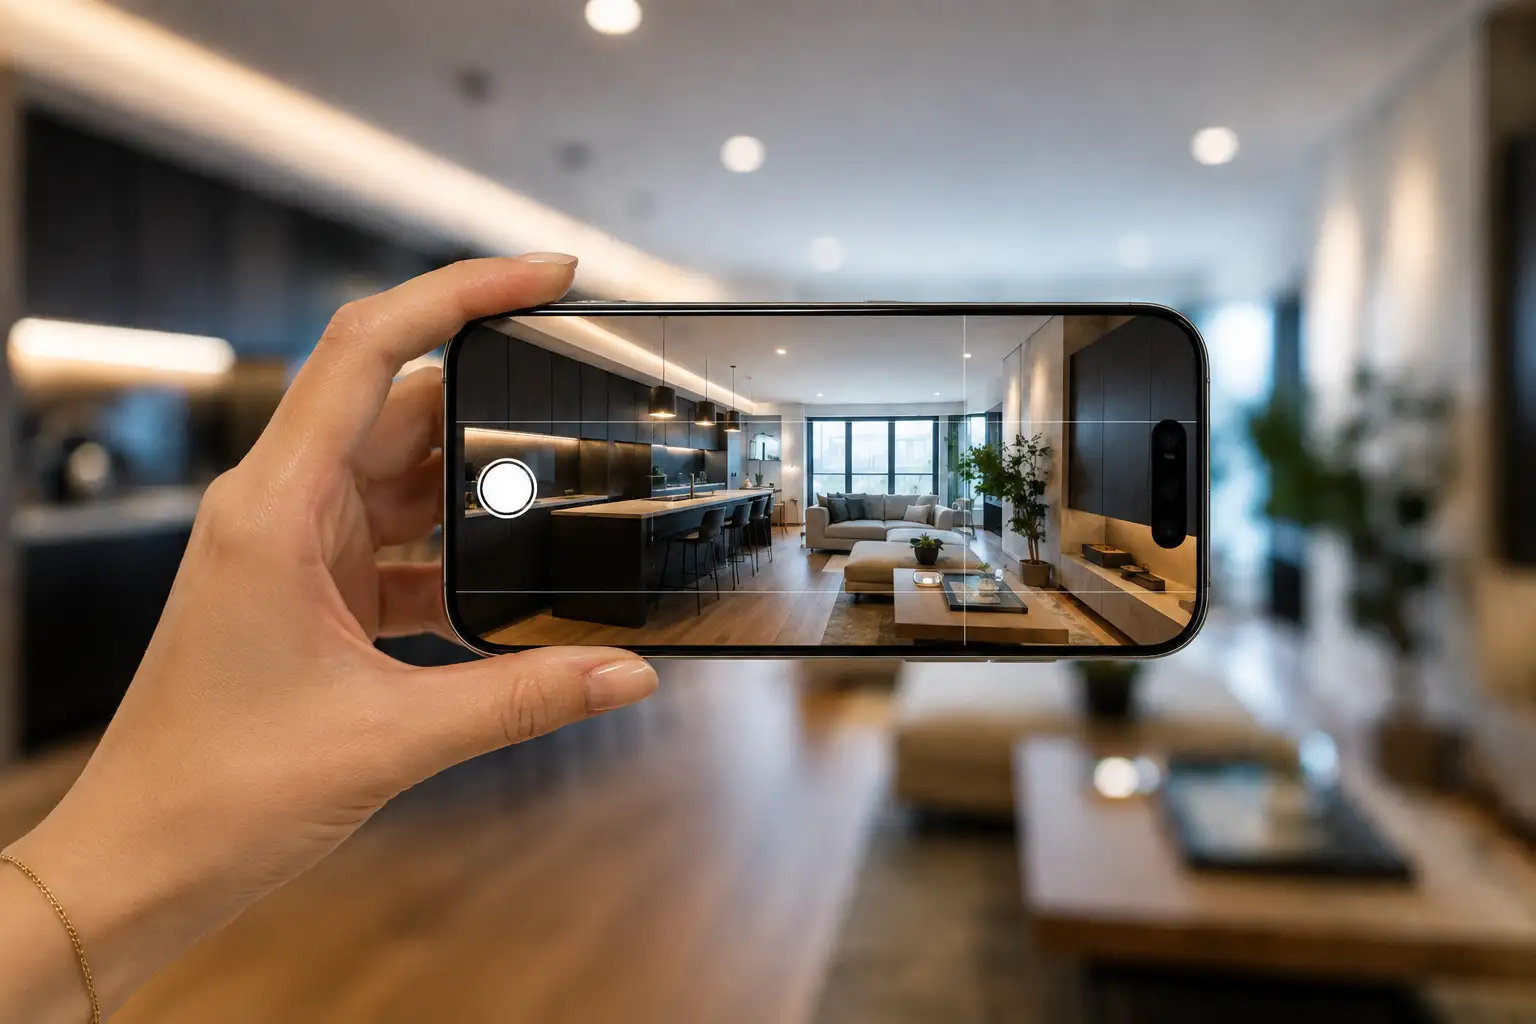
Summary
Good photos crucially influence whether your ad will attract attention — and for solid results, a professional camera isn't necessary; a modern mobile phone is sufficient. The key lies in preparing the space (tidying up, cleaning, removing personal items), utilizing natural light, proper framing from room corners and a lower height, and photographing all rooms, including outdoor areas. With a few simple rules and basic post-processing, you can take photos with your mobile phone that show your apartment as it is — only tidier and more appealing.
Key facts
- For good apartment photos, a modern mobile phone is sufficient — preparation and lighting are more important than equipment.
- A tidy, clean, and depersonalized space is the foundation of every good photograph.
- Natural daylight is by far the best light source; avoid shooting at night or under artificial light.
- Photographing from a room corner and a lower height makes the space appear more spacious.
- Photograph all rooms, including the bathroom, balcony, and outdoor areas.
- Basic post-processing (brightness, straightening) helps, but photos must not be misleading.
When a potential buyer or tenant searches through listings, the first thing they see are the photos — and it's precisely these photos that decide in a second whether they will stop at your listing or skip it. Before reading any information about square footage, price, or location, the viewer reacts to the image. Bad, dark, or messy photos deter even the best property, while quality ones attract attention, inquiries, and ultimately, better offers. Photos are therefore not just a decoration for the listing, but its most important part.
The good news is that achieving solid results today doesn't require an expensive camera or a professional: what distinguishes a good photo from a bad one is most often not the equipment, but preparation and a few basic rules. In the listings we manage daily, we see that a prepared space, natural light, and proper framing make even a modest apartment look pleasant and spacious — while a messy space or bad light can make even a beautiful apartment appear unattractive. In this guide, we will walk you through step by step, from preparing the space, through lighting and framing, to the shooting sequence and basic editing.
Preparing the space before photographing
The best photograph begins before you even pick up your phone — by preparing the space. The first step is thorough tidying and cleaning: remove clutter, unnecessary items from surfaces, and objects that don't belong in the frame. The space should appear neat and airy, as the camera mercilessly emphasizes every bit of mess. Clean windows, neatly made beds, and empty countertops make a huge difference.
Another important step is depersonalization — removing personal photos, trinkets, and overly specific decorations. The goal is for the potential buyer to more easily imagine themselves in the space, which is harder if the space is full of other people's personal traces. A neutral, tidy space feels wider and is more easily „appropriated" in the viewer's imagination; a few neutral details, like flowers or neatly arranged cushions, can add warmth without cluttering.
Before the first shot, always wipe your phone's lens — a greasy fingerprint on the lens is the most common invisible reason for blurry and hazy photos. Also, be mindful of your own reflection: in mirrors, windows, and dark TV screens, the photographer can easily, unconsciously, photograph themselves, which gives an amateur impression.
Professional tip: Photograph the space tidier than you normally live in it — remove even everyday items like cleaning supplies, cables, and refrigerator magnets, as these very details give an impression of messiness.
Light is the most important thing
If you remember one rule from this entire guide, let it be this: light is the most important thing. Natural daylight is by far the best ally when photographing an apartment — it makes the space bright, warm, and spacious. Therefore, photograph during the day, when the room is brightest, and open all curtains and blinds to let in as much light as possible. Photos taken at night or under artificial light almost always turn out dark, yellowish, and unattractive.
The goal is a bright room filled with soft, diffused light — not a beam of direct sun. Strong sunbeams create harsh shadows and overexposed spots that are difficult to fix, so gentle, even daylight, for example, on a brighter but not completely sunny day, is most desirable. It's also worth paying attention to the time of day: east-facing rooms are most beautiful in the morning, west-facing ones in the afternoon. Use artificial light only as a supplement, not as the main source.
Professional tip: Turn off artificial lighting when there is enough daylight — mixing warm artificial light and cooler daylight results in uneven colors that are difficult to correct in post-processing.
Framing and phone settings
The way you frame a room critically affects the impression of the space. The best results are obtained by shooting from a corner of the room, as this captures the most space in the frame and makes the room appear more spacious than when shooting straight towards a wall. Hold the phone slightly lower than eye level and horizontally — shooting from a lower height makes the space appear larger and more balanced, while photographing from above „flattens" the room.
It is very important to hold the phone straight, so that vertical lines (edges of walls, doorframes) are upright, not tilted, as slanted lines give an amateur impression and distort the space. Most phones offer an auxiliary grid on the screen — turn it on and align your shot with it. Shoot horizontally (landscape), as this format is better suited for displaying rooms and on listing portals. If necessary, enable HDR, which balances exposure when there is both a bright window and a darker part of the room simultaneously in the frame. For sharp shots, hold your phone steady with both hands or rest it on a stable surface.
Be cautious with wide-angle (ultra-wide) shooting mode. It captures more space and is tempting for small rooms, but excessive use distorts perspective and makes the space appear unrealistically large, which later disappoints the viewer during a visit. Moderate use of a wide shot is fine; excessive use creates an impression of deception. Also avoid digital zooming, which reduces quality — rather, physically move closer.
Professional tip: Turn on the grid in your camera settings and align the bottom edge of the frame with the floor line — this is the simplest way to ensure photos are straight and professional-looking.
Which rooms and details to photograph
A complete listing shows the entire apartment, not just the most beautiful parts. Photograph all rooms — living room, kitchen, all bedrooms, bathroom, and hallway — as well as any outdoor space: balcony, terrace, yard, or view. The bathroom and utility rooms should not be skipped; their absence raises suspicion that something is being hidden. The goal is for the viewer to get a complete and honest picture of the space.
In addition to shots of entire rooms, it's useful to capture valuable details that make the property stand out — quality materials, a nice view, built-in furniture, a well-arranged balcony. A good sequence for a listing usually starts with the most attractive space, often the living room or the area with the best light, so that the first photo grabs attention. If there's an appealing outdoor view or terrace, that also makes a strong first or second image.
Professional tip: Take multiple photos of each room from different angles and then choose the best ones later — it's much easier to select from a dozen shots than to go back and rearrange the space again.
Basic post-processing
Minor post-processing can significantly improve photos. Basic adjustments — slightly brightening underexposed shots, straightening tilted frames, subtle cropping for a better composition, and nuanced color correction — are available in every smartphone's built-in tools, without the need for special programs. The goal is for the photograph to faithfully and beautifully represent the space as it truly is.
An important principle applies here: editing may enhance, but not deceive. Overly saturated colors, artificially „added" light, defect removal, or space distortion create an impression that the apartment cannot fulfill in person, leading to disappointment and loss of trust during a visit. An honest, neatly processed photograph attracts serious interested parties; one excessively embellished repels them as soon as they enter the apartment.
Professional tip: Before publishing, look at the photos through the eyes of a buyer who scrolls through dozens of listings daily — if yours wouldn't stand out among them, rather wait for a better day and light than to weaken your listing with photos you'll soon change anyway.
How Regent Real Estate Agency can help youAlthough you can take perfectly good photos with your phone, selling or renting a property is much more than just a good listing. At Regent, we help you with professional property presentation, determining the right price, advertising in the right places, and managing the entire process until the deal is closed. If you want your property to be presented in the best light and to the right audience, see what selling with Regent looks like or contact us directly.
Frequently Asked Questions (FAQ)Can I take good enough photos for a listing with my phone?
Yes. Modern smartphones have cameras perfectly sufficient for quality real estate photos. Crucial factors are space preparation, good natural light, and proper framing — these make a greater difference than the equipment itself. With basic attention and a few simple rules, you can get shots with your phone that present the apartment neatly and attractively.
When is the best time to photograph an apartment?
During the day, with as much natural light as possible, when the most light enters the rooms. East-facing rooms are most beautiful in the morning, west-facing ones in the afternoon. Avoid shooting at night and under artificial light, as well as harsh direct sun which creates strong shadows and overexposed spots; soft, diffused daylight yields the most even result.
How can I photograph to make the space look larger?
Shoot from a corner of the room, from a height slightly lower than eye level, and with the phone held straight so that vertical lines are upright. Open curtains for more light. Use a wide-angle lens moderately, as overdoing it distorts the space and creates an unrealistic impression that disappoints during a visit.
Which rooms should I photograph?
All of them — living room, kitchen, bedrooms, bathroom, hallway, and any outdoor space like a balcony, terrace, or yard. Omitting rooms raises suspicion in viewers that something is being hidden. In addition to entire rooms, capture valuable details that make the property stand out, such as quality materials or a nice view.
How many photos should a listing have?
As many as needed to showcase the entire apartment — all rooms and outdoor space. In practice, this usually means ten or more photos, depending on the size of the property. Too few photos raise suspicion in viewers, and a series of almost identical shots is tiring; the goal is a complete and clear picture of the space.
RecommendedSmall apartment, smart solutions: how to maximize spaceRenting an apartment in Croatia: what you need to know before signing the contractHow the real estate purchase and sale process works in Croatia — step by step